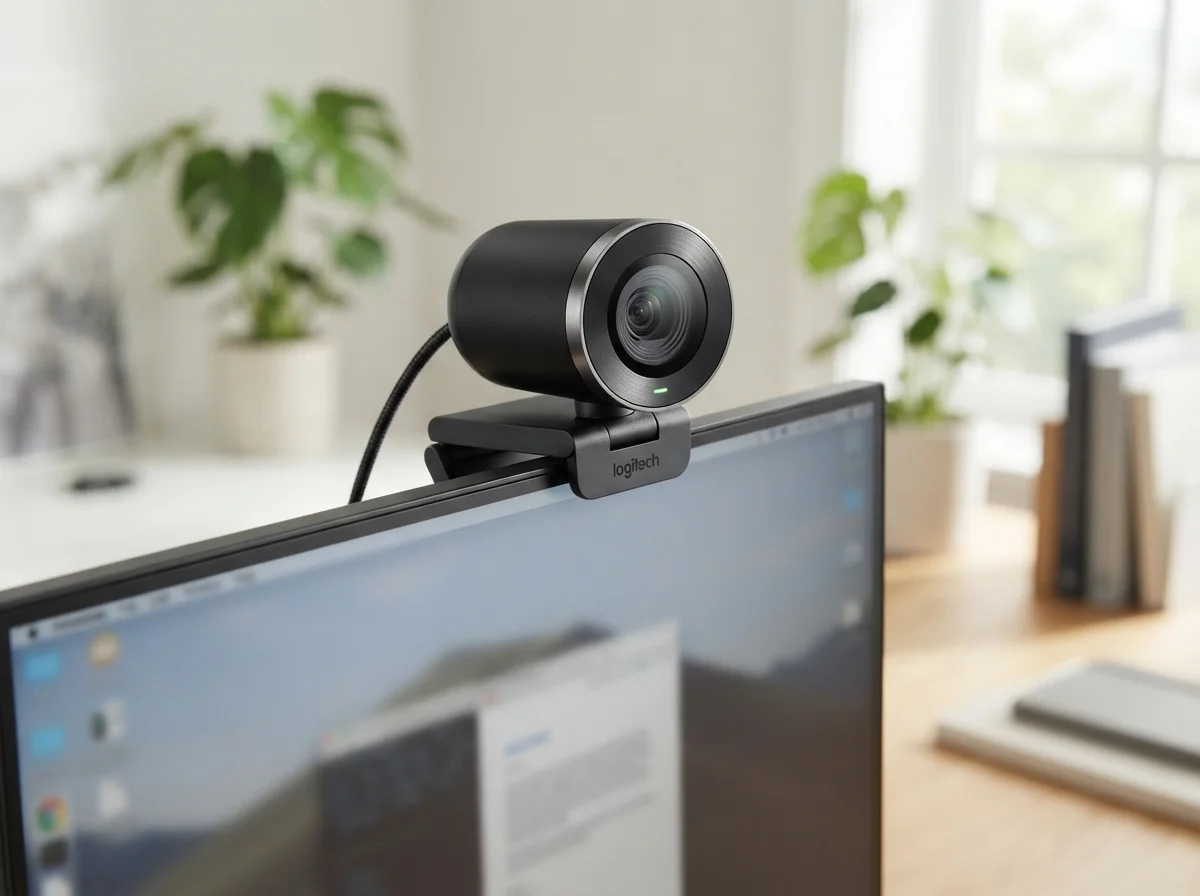
Webcam Not Working: Common Causes and How to Fix It
Webcam Not Working: Common Causes and How to Fix It
A webcam is an essential device for video calls, online meetings, remote learning, streaming, and other communication activities. However, it can sometimes stop working without warning. Windows may fail to detect the camera, an application may display a black screen, or the webcam may work in one program but not another.
Webcam problems can be caused by simple connection issues, incorrect privacy settings, disabled camera permissions, outdated or corrupted drivers, application conflicts, USB problems, or a faulty camera. Fortunately, many webcam problems can be diagnosed and resolved without replacing the hardware.
Common Symptoms of a Webcam Problem
Webcam problems can appear in several different ways. Common symptoms include:
- The webcam is not detected by Windows.
- The camera application displays a black screen.
- The webcam works intermittently.
- The webcam works in one application but not another.
- The camera image is frozen.
- The webcam image is blurry or distorted.
- The webcam indicator light does not turn on when expected.
- A video-conferencing application cannot access the camera.
- Windows displays a camera-related error message.
- An external USB webcam is not recognized.
Common Causes of a Webcam Not Working
1. Camera Privacy Settings Are Blocking Access
Windows includes privacy controls that determine which applications are allowed to access the camera. If camera access has been disabled, an application may be unable to use the webcam even though the hardware is functioning correctly.
Check the Windows privacy settings and make sure camera access is enabled. Also verify that the specific application you want to use has permission to access the camera.
2. The Webcam Is Physically Covered
Many laptops include a physical privacy shutter or sliding camera cover. Some users may accidentally leave the shutter closed and assume that the webcam is defective.
Check the area around the camera and make sure the privacy shutter is open. If your laptop has a keyboard shortcut or physical switch that disables the camera, make sure it has not been activated.
3. Another Application Is Using the Webcam
A webcam can sometimes be unavailable because another application is already using it. Video-conferencing software, messaging applications, browsers, recording programs, and other camera-enabled applications may compete for access to the same device.
Close applications that may be using the webcam and then restart the application in which you want to use the camera.
4. Incorrect Camera Selected
Computers with multiple cameras may have several available video devices. For example, a laptop may have a built-in webcam while an external USB webcam is also connected.
Open the application's camera settings and make sure the correct webcam has been selected.
5. Webcam Driver Problems
Windows uses device drivers to communicate with hardware. A missing, outdated, corrupted, or incompatible camera driver can prevent a webcam from working correctly.
Device Manager can be used to check whether Windows recognizes the camera and whether there are driver-related warnings.
6. USB Connection Problems
External webcams normally connect through USB. A loose connection, damaged cable, defective USB port, or insufficient connection can prevent the webcam from being detected.
Disconnect the webcam and reconnect it securely. If possible, test another USB port. Avoid using an unpowered USB hub while troubleshooting unless the webcam is known to work correctly through that hub.
7. Application Configuration Problems
Sometimes the webcam itself is working correctly, but the application has been configured incorrectly. The selected camera, video settings, or application permissions may be responsible.
Check the application's video or camera settings and select the correct device.
8. Windows or Driver Updates
Changes to Windows or device drivers can occasionally affect hardware compatibility. If the webcam stopped working immediately after a Windows update or driver change, investigate the relevant driver and system settings.
9. Hardware Failure
If software troubleshooting does not resolve the problem, the webcam itself may be defective. Internal laptop cameras can develop hardware faults, while external webcams can fail because of damaged cables, connectors, or internal components.
How to Fix a Webcam That Is Not Working
Step 1: Restart the Computer
Start with a simple restart. Temporary Windows or application problems can sometimes prevent the webcam from being accessed correctly.
Close your applications, restart Windows, and test the camera again.
Step 2: Check the Physical Camera
If you are using a laptop, check whether the webcam has a physical privacy shutter, camera switch, or keyboard shortcut that disables the camera.
If you are using an external webcam, check the USB cable and connection. Disconnect the device and reconnect it to another USB port if available.
Step 3: Check Windows Camera Permissions
Windows provides privacy settings that control camera access. Open the Windows privacy settings and verify that camera access is enabled.
Also check that applications are permitted to access the camera. If the application you are using is blocked, enable its camera permission and test the webcam again.
Step 4: Test the Camera with the Windows Camera App
Use the built-in Windows Camera application to determine whether the problem affects the webcam itself or only a particular application.
If the webcam works correctly in the Camera app but not in a video conferencing application, the problem is more likely to involve the application's settings or permissions.
Step 5: Check Device Manager
Device Manager can help determine whether Windows recognizes the webcam. Look for the camera under the appropriate device category.
If the device has a warning symbol, there may be a driver or hardware problem. You can investigate the device properties and driver information to identify the issue.
Step 6: Update or Reinstall the Webcam Driver
If the webcam driver is suspected to be corrupted or incompatible, updating or reinstalling the driver may resolve the problem.
When possible, obtain drivers from the computer or webcam manufacturer's official support website. Avoid downloading drivers from unknown websites.
Step 7: Close Other Camera Applications
Close video-conferencing applications, browsers, recording software, and other programs that may be using the webcam.
After closing those applications, open your preferred camera application and test the webcam again.
Step 8: Check the Application's Camera Settings
If the camera works in Windows but not in a particular application, open the application's video settings.
Make sure the correct camera is selected. If several cameras are available, the application may have automatically selected the wrong device.
Step 9: Install Windows Updates
Check Windows Update for available operating system and hardware-related updates. Keeping Windows and compatible device drivers up to date can help resolve known compatibility problems.
Step 10: Test the Webcam on Another Computer
If you are using an external USB webcam, test it on another computer if possible.
If the webcam works on another computer, the problem is likely related to the original computer's Windows configuration, drivers, USB ports, or application settings. If it does not work on another computer either, the webcam itself may be defective.
Webcam Shows a Black Screen
A black camera screen does not necessarily mean that the webcam has failed. Check the camera privacy settings, physical privacy shutter, selected camera device, and application permissions first.
Also check whether another application is currently using the camera. Restarting the application or computer can sometimes release the camera and restore normal operation.
Webcam Works in One Application but Not Another
If the webcam works in the Windows Camera application but fails in a particular program, the hardware is probably functioning. Focus your troubleshooting on the affected application.
- Check camera permissions.
- Confirm that the correct camera is selected.
- Close other applications using the webcam.
- Restart the affected application.
- Update the application.
- Check the application's video settings.
Webcam Image Is Blurry
A blurry image is often caused by a dirty camera lens rather than a hardware failure. Carefully clean the lens with a suitable soft, lint-free cloth.
Also check the lighting conditions. Poor lighting can make a webcam image appear noisy, dark, or less sharp even when the camera is operating correctly.
How to Prevent Webcam Problems
Good maintenance and correct system configuration can reduce the chance of future webcam problems.
- Keep the camera lens clean.
- Protect external webcams from drops and physical damage.
- Avoid pulling the USB cable unnecessarily.
- Keep Windows and compatible drivers updated.
- Review camera privacy permissions when installing new applications.
- Close applications when they are no longer using the webcam.
- Use the manufacturer's official drivers when necessary.
- Keep the laptop camera privacy shutter in the desired position.
- Use adequate lighting for better video quality.
When Should You Contact a Computer Technician?
If the webcam remains undetected after checking connections, privacy settings, drivers, and applications, the problem may be related to hardware.
Professional assistance may be appropriate if an internal laptop camera has failed, a motherboard or USB port appears to be damaged, or the computer continues to experience unexplained camera problems.
Conclusion
A webcam that is not working can be caused by anything from a disabled privacy setting to a faulty camera. Before replacing the webcam, check the physical connection, privacy settings, application permissions, selected camera, drivers, and Windows configuration.
For external webcams, testing the device on another computer can also help determine whether the problem is caused by the webcam or the computer. If basic troubleshooting does not resolve the issue, a technician can perform a more detailed hardware and software diagnosis.
Related Articles
 Hardware
Computer Randomly Restarting: Common Causes and How to Fix It
A computer that randomly restarts can be caused by overheating, hardware failures, driver problems, Windows errors,…
 Hardware
Monitor and Display Problems: Common Causes and How to Fix Them
Monitor and display problems can include a blank screen, flickering, distorted images, incorrect resolution, no signal,…
 Hardware
How to Clone Your Hard Drive to an SSD
Work-in-progress guide on cloning Windows to a new SSD using free tools.
Comments (0)
No comments yet. Be the first to share your experience!
Leave a comment